Introduction
What do I need to know to prepare for my hunt?
- Away from light pollution
- Clear skies
- Sufficient solar activity
And there you are! It's 3pm, the sun is almost completely down over the vast Lapland moors, you look up at the sky and... well, you can't see much!
In Lapland, you'll find many agencies offering to take you to see the northern lights. There's something for every price, and every kind of service, with photos, meals included, unlimited mileage...
Do I need a guide to see the northern lights?
No, not at all! With the right preparation, you can go aurora-watching on your own, and that's what this guide is all about!
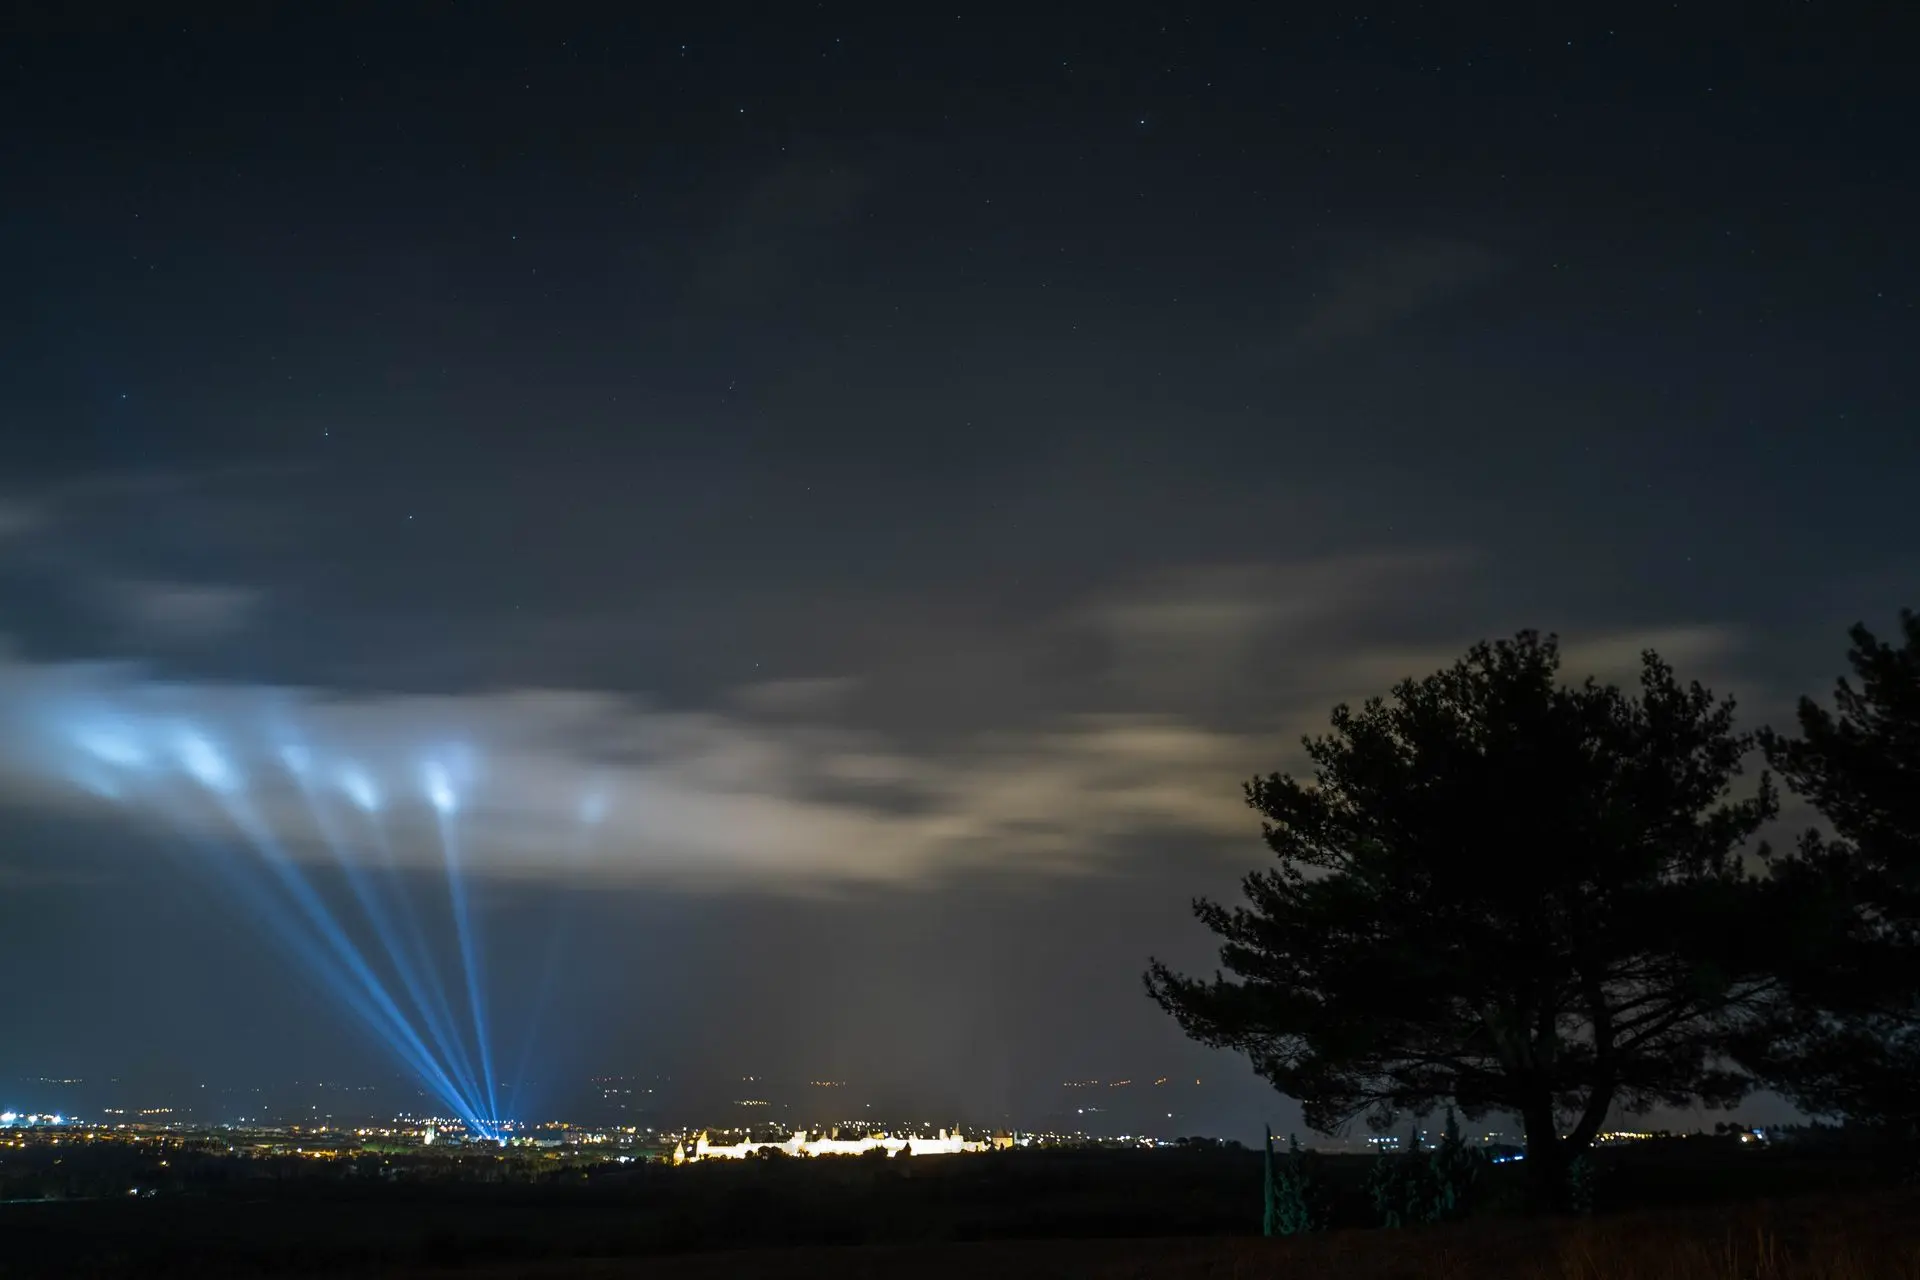
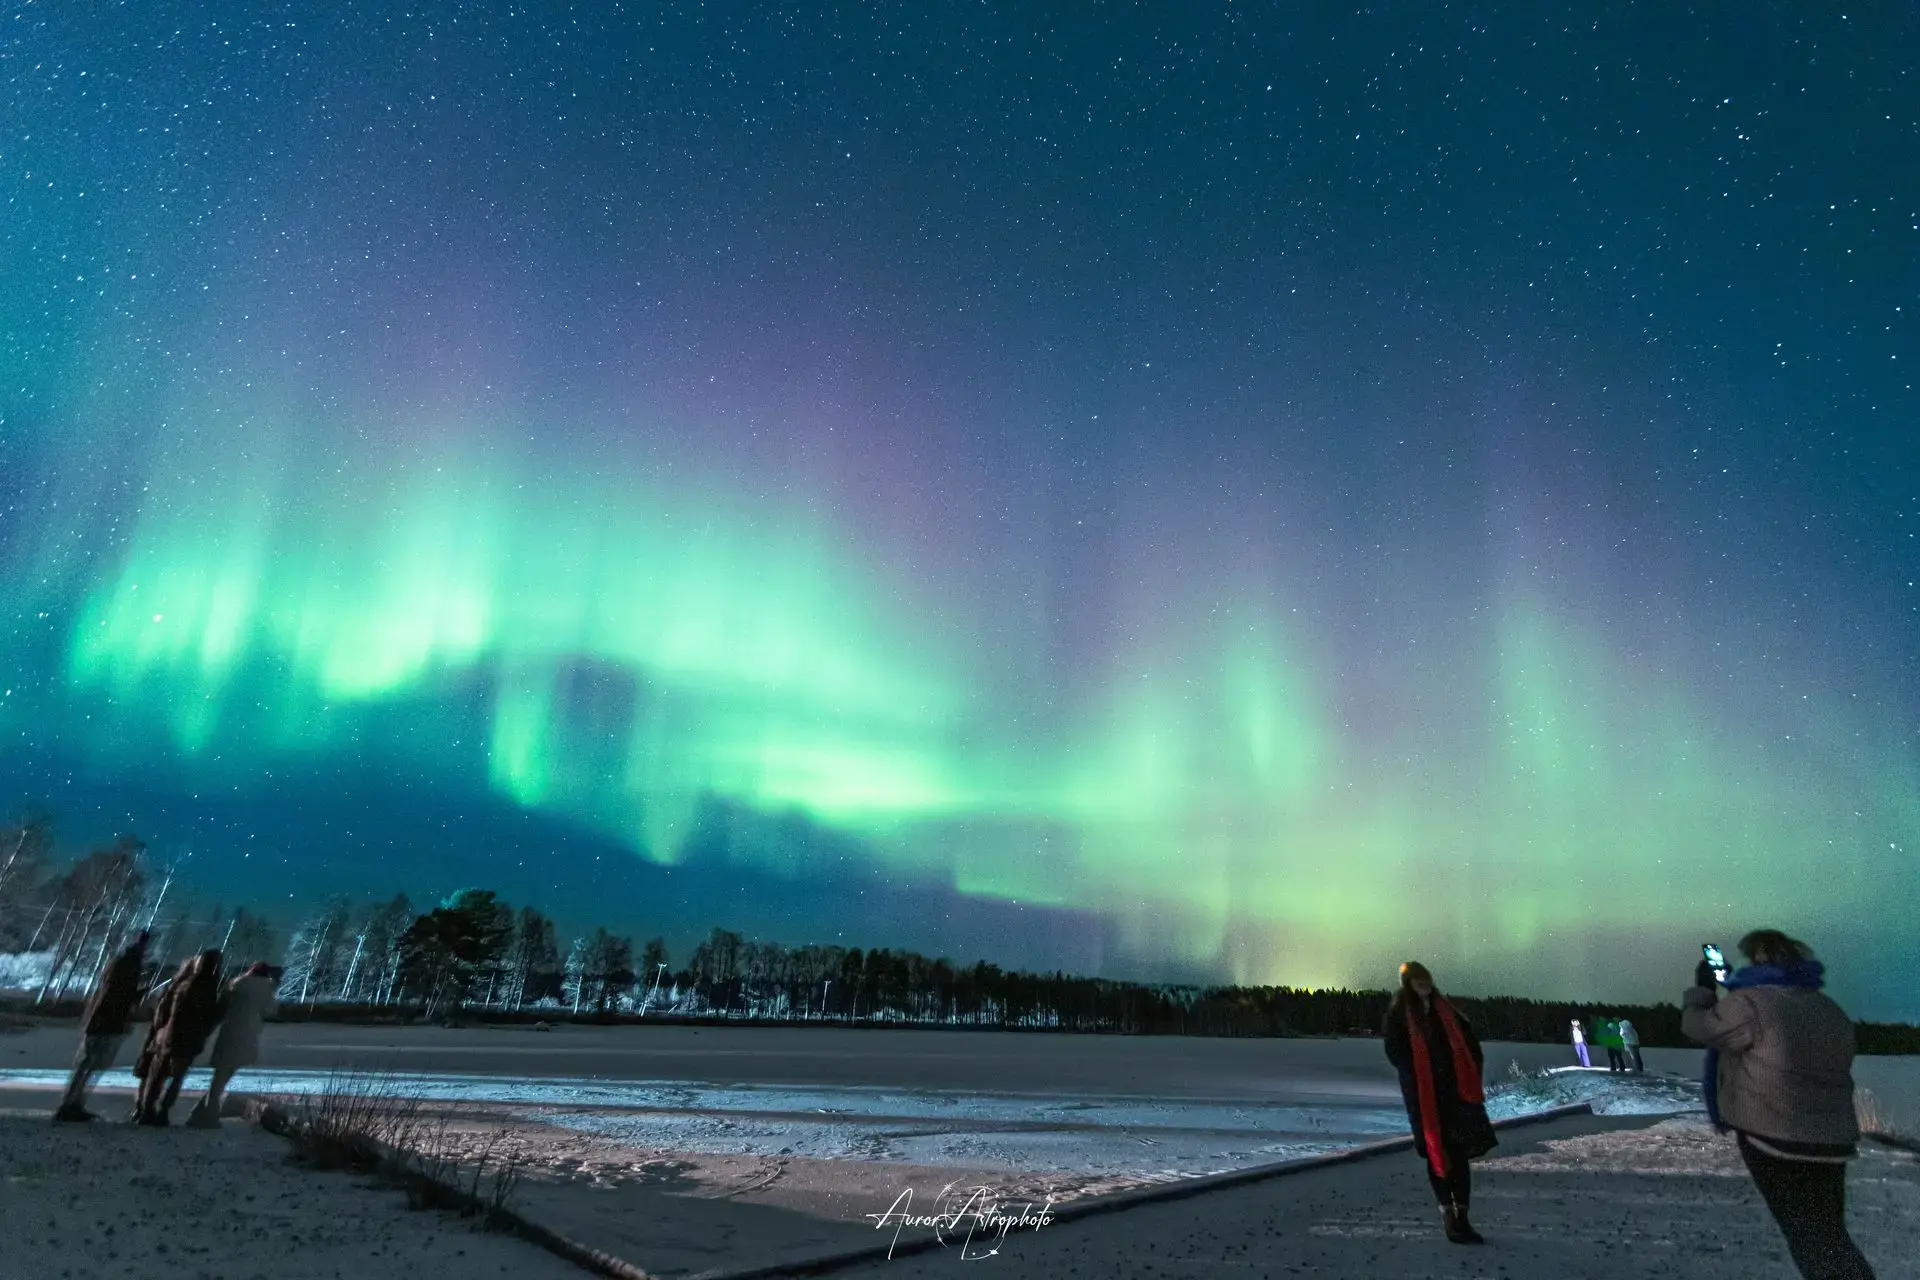
The difficulty in seeing the Northern Lights lies in the fact that they are relatively dim objects, difficult to distinguish with the naked eye. To maximize our chances of seeing them, we need to get away from cities and all sources of light pollution.
Auroras are also phenomena that occur above the clouds, so we'll need clear skies to see them.
Last but not least, the activity of our star that causes the aurora can be intense all night long... or for a very short period of time that shouldn't be missed!
To see auroras, we need to meet the following conditions:
- Away from light pollution
- Clear skies
- Sufficient solar activity
Fortunately, there are many apps that let you check the weather and solar activity in real time, and predict to the hour the activity you can expect, increasing your chances of being outside, nose in the air, at the right time :)
After reading this guide, we'll know more about what the northern lights are, what equipment you need to observe them and how to track them down!
What are Northern Lights?
How are these phenomena formed, and where do they come from? When is the best time to observe them?
- They take place above the clouds
- They are only visible at the poles
- In winter, because it has to be dark
- The best months to observe them are September and March.
The northern lights are the result of solar activity.
Our star is constantly ejecting highly energized matter in all directions. This is known as the solar wind.
When this material comes into contact with the Earth's atmosphere, it “excites” the stable atoms of the atmosphere, composed mainly of nitrogen and oxygen, which, to return to their stable state, emit a photon, a particle of light.
Oxygen emits green or red photons, while nitrogen emits pink or blue photons.

So we have aurora borealis in our skies all the time, because solar activity never ceases.
So why do people say they can only be seen in winter?
Well, it's a tad more complicated than that.
In the absence of exceptional solar activity, the aurora borealis is only visible at the poles, due to the shape of our magnetic field.
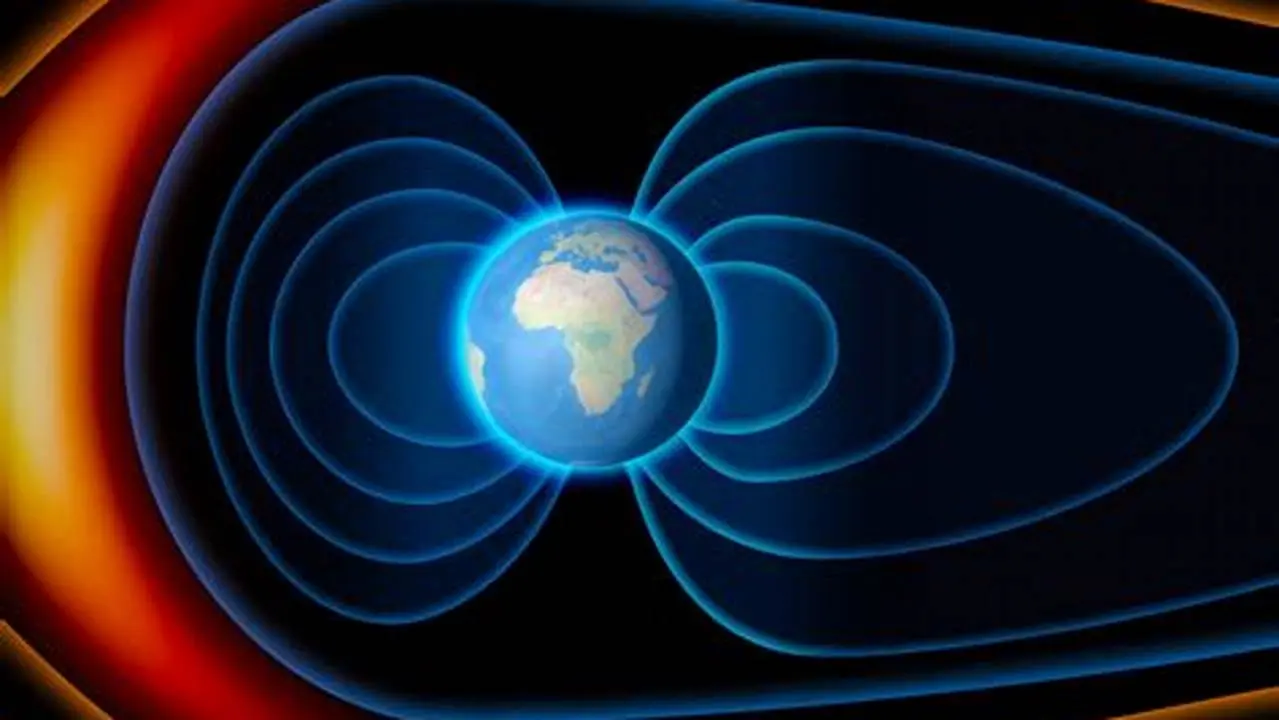
Our magnetic field is our first line of defence against the solar wind. Without it, life would probably not exist on Earth. It is caused by the activity of the Earth's core, and its shape causes it to “dip” towards the core at the poles. This “sagging” of our magnetic field allows the solar wind to come into contact with our atmosphere at the poles, whereas at the equator, the wind is kept too far away from our oxygen and nitrogen atoms to touch them.
This is why auroras are generally only visible at the poles.
But why in winter?
Well, because it's dark!
Auroras are very faint objects, so the slightest source of light pollution prevents them from being seen. The simple headlights of a car or a street lamp are enough to saturate our retinas and prevent us from admiring them... So imagine the sun!
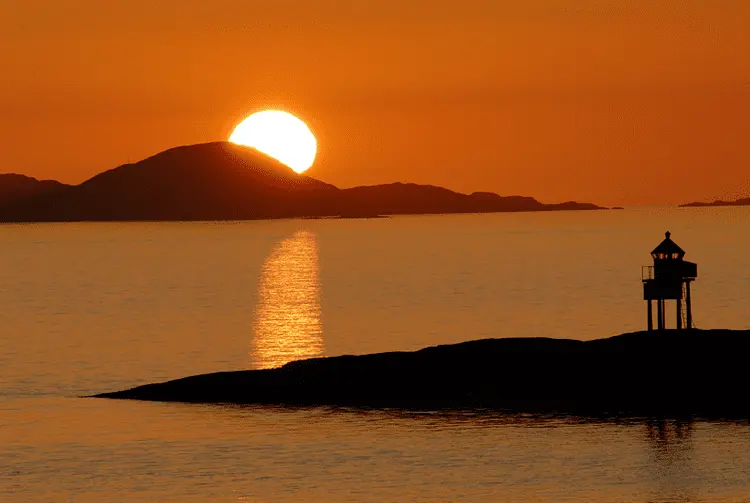
At the poles, in summer, the sun never sets. This is known as the midnight sun.
This makes it impossible to see the northern lights, even though they are dancing in the sky. The same thing happens with the stars. They twinkle above our heads during the day, but the sun eclipses their brilliance.
The aurora borealis season therefore runs from mid-August to mid-April, when it's dark enough at the poles for them to be visible.
In my experience, the best months to see them are September and March, when their activity is highest thanks to the “equinox effect”, and because temperatures are a little milder than in December/January :) But don't worry, you can see them all in winter.
Now let's take a look at how to prepare for the hunt!
Gear up!
It's time for adventure. You'll need :
- A car
- Reliable weather apps
- Reliable aurora apps
- A GPS
- Mittens and warmers
- Drinks and cakes!
The first thing we're going to need to see the aurora... well, it's a means of transport!
Lapland is a big place, and your hotel is likely to be close to a city. Even if the skies are clear, we'll need to get away from any urban centers to find a dark place where the sky will reveal itself in all its beauty.

As the weather is also a decisive factor, you may need to drive a long way to find a patch of clear sky. That's why I recommend you get a phone or tablet to track weather apps in real time. You can use the free Windy app to track cloud movements in real time to find a patch of clear sky.
The free Swedish weather site SMHI is also a reliable source of live weather information for northern countries.
Once we're in a dark place and you see stars overhead, find a safe place to stop. Don't stop on the road, even if it looks deserted - consult a GPS app first to find a safe place to stop, but be careful not to get stuck! In winter, many parking lots will be inaccessible to you because of the layer of snow. Snow ploughs clear most roads and large, busy parking lots, but you may come across an area where the snow is still deep.
Step outside and let the magic happen!
Watch out! Watching the aurora may make you forget that it's -15°C... but your hands and feet will remember!
I won't insult you by reminding you that you need to dress warmly in Lapland. But my experience has taught me to avoid three mistakes:
- Choose mittens over gloves
Your fingers will be stuck together, warming each other. You'll feel colder with gloves than with mittens. - Put on just one good pair of socks
Two or three pairs will only compress your feet in your shoes and prevent air circulation. Remember, what warms you is the air heated by your body in your clothes and shoes. So opt for a pair of merino wool socks, and that's it! - Put heaters between your socks and shoes
That's all, or almost all. If you're like me, you'll get cold no matter how good your shoes or socks are. The solution I've found is to add disposable warmers under my toes, and in my mittens. They'll keep you warm for much longer, and make the evening much more comfortable!
Finally, the evening can be long, as the aurora can be... capricious! Even when the sun is very active, it's possible for nothing or very little to appear in the sky. Yes, it happens... Such evenings are rare, but if it happens to you, don't leave just yet. During the night, it's likely that a burst of activity will delight your pupils! But how can you tell in advance?
There are several applications available for predicting auroral activity. I recommend two that I use:
They'll give you a general idea of activity from a few days to a few hours in advance. The reliability of these predictions is 80%, because - and this is the bad news of the day...
We can't predict the appearance of the aurora borealis with 100% certainty.
"What? But you said you worked for an agency that 100% guaranteed to see them! You lied to us?!!"
So, no. I'm not lying to you, because if the sky is clear and there's enough solar activity, auroras will be visible at some point during the night. But this “given moment” cannot be 100% predicted. It can happen when the applications predict good activity, or quite randomly over the course of the night.
The last thing we need to observe the aurora borealis is patience. It's possible to see auroras with very low activity, or none at all with high activity, as many parameters come into play for the appearance of these phenomena.
For more information, please refer to my detailed article on the Northern Lights.
The good news is that in my experience, if the skies were clear, I've never had a single night without seeing any.
Bonus: Photographing auroras!
Equipment and settings for photographing the northern lights.
Okay, so you've had your fill of it, but you'd like to take home something a little more tangible from your evening? I've written a full article on everything you need to know about photographing the Northern Lights, but let's summarize a few basics here.
You can photograph auroras with a smartphone!
You don't need a sophisticated digital camera to capture the aurora. All you need is a smartphone with a night mode!
On iPhone or Android, select your Camera app, then look for Night mode. On most Android devices, it's represented by a Moon logo, and on iOS, it'll be a yellow striped circle.
Point your phone at the sky, and press the shutter release.
This mode will take a photo lasting several seconds, so make sure you remain steady until the end of the shot.
And let's the show begin! That's all there is to it :)
If you have a digital camera, don't forget your tripod!
With a digital camera, things get a little more complicated.
- A tripod
If you're going to take a photo lasting several seconds, you'll need a tripod, otherwise the photo will be out of focus. - Manual mode
You need to switch your camera to manual mode, and your lens to manual focus. This is imperative to ensure that the photo is not blurred, and that you get the right exposure. - Focusing
Let's start with the hardest part: focusing. You'll need to focus on infinity. How do you go about it? Take your camera into Liveview mode, target a distant, bright object, such as a star or the moon, or a light source more than 10 km away. Zoom in x10 on the light, and adjust the focus ring until the light is as sharp as possible. And be careful not to touch the focus ring again after that! - The exposure triangle
Finally, you'll need to define the three exposure parameters: exposure time, aperture and ISO. For the aperture, I recommend you choose the lowest possible setting for your lens, to capture as much light as possible. For ISO, try not to go above 800. If the auroras are too weak, you may need to go up to 1200 or 1600, but don't go beyond that so as not to overshadow the photo. Finally, the exposure time will depend on the speed of the aurora dance. For slow-moving auroras, choose a long exposure time, between 3 and 5 seconds, and lower your ISO a little. For fast-moving auroras, try not to go beyond 2 seconds, and compensate for the loss of luminosity by increasing the ISO.
I explain all this in details in a dedicated article that you can find here!
Conclusion
Do-it-yourself northern lights hunting requires a little preparation and a good dose of resourcefulness! With the right equipment and knowing what you're looking for, it's within everyone's reach.
You'll still need a vehicle capable of driving on snow-covered roads, the confidence to drive in difficult conditions, and the ability to stop without getting bogged down.
Don't neglect the sensation of cold, even if you're not usually sensitive to it. It's better to plan too much than not enough, and it would be a shame to leave without enjoying the show because your toes are frozen.
And if you don't feel like doing it yourself, then don't hesitate to turn to the many agencies that offer guided tours! If you don't know what to choose, I can suggest two with two types of service:
- Wild Wonder
Limited mileage excursion Time: 4 hours Departure: 7 pm Meals: included, hot dogs and hot drinks Max. number of participants: 8 + 1 guide Photos: included Language: they have several guides, some of them French, but this is not guaranteed. Wild Wonder was the first agency I worked with. Today, they're good friends whose professionalism I can recommend with my eyes closed! - Arctic GM
Unlimited kilometers Time: until we see auroras Departure: 7 pm Meals: included, berry juice and brownies Max. number of participants: 8 + 1 guide Photos: included Language: they have several guides, some of whom are French, but this is not guaranteed.
Arctic GM is the agency I'm currently working with. Their tour is 100% guaranteed to see the Northern Lights. If you go, you'll see them, if you don't, we'll cancel! If you're coming on my behalf, don't hesitate to let them know so they can put you in my van, so you can be sure of having a French-speaking guide ;)